I love monograms. My new (married) initial is H and it makes a great monogram, either lovely and scrolly or strong and straight. Love it.
You may have noticed the blank wall space in the front hallway from the
after photos (on the far side of the mirror beside the front door).
A bet you were wondering what I was going to put there. Or if you weren't before, hopefully you are now. I decided to use one of my pretty empty
thrift store frames to create some custom monogram art for $0. That's right free.
Using this "junk"
I created this beautiful artwork.
This is something that anyone can do. All you really need is scissors, some paper and some paint.
Here's how I did it.
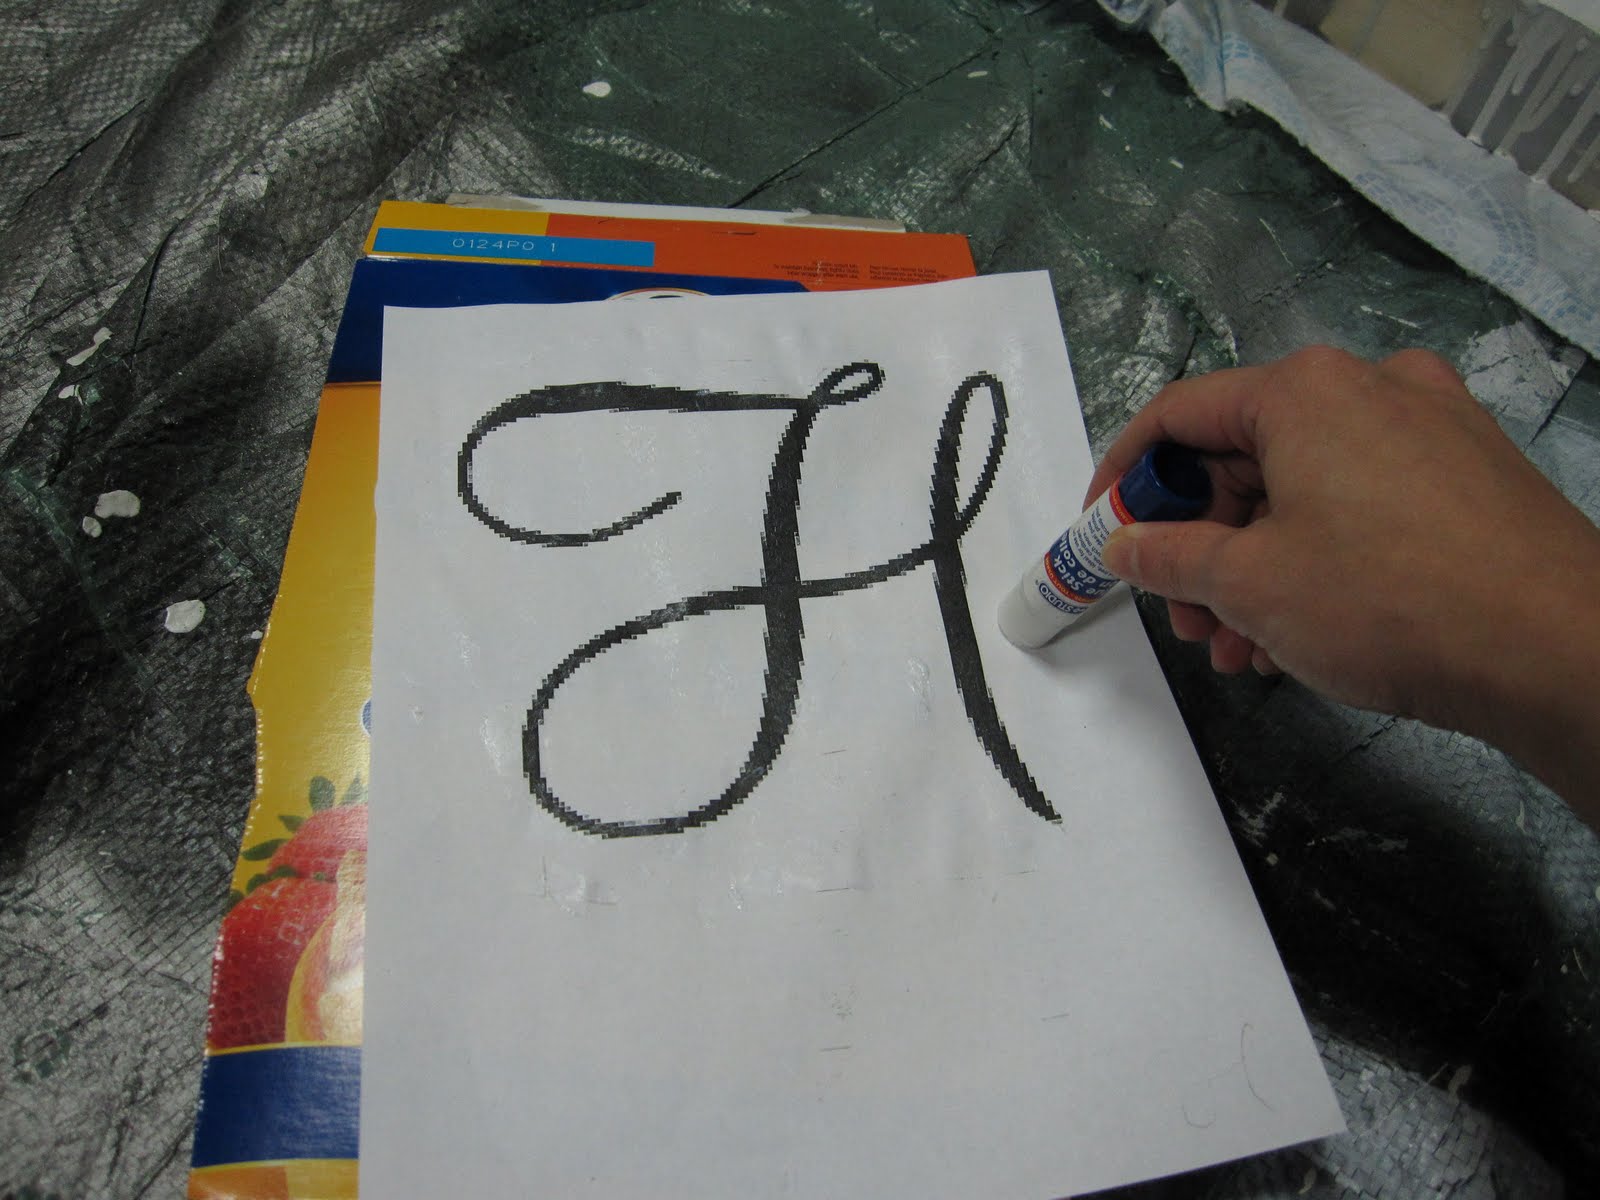
First you need to find a monogram that you like and print it out. I used a custom font that I found online, but you could use anything from Word or even draw it yourself.
Next you glue the print-out to the side of a cereal box (or some other stiff paper)
You want to put the glue on the "good" side and stick it to the colourful side of the box. This will make more sense in a second, basically you don't want to get glue on the "front" of the letter (which is the inside of the box).
Next you're going to cut out the letter.
This is more difficult the more swirly the letter, also my dollar store glue didn't stick that well and I had a bit of sliding around.but eventually you'll get something like this. Notice that I have separated the template from the cut-out letter ("cut-out"). If your glue is not too sticky like mine this is easy, if you have good glue you can just print 2 templates or photocopy a duplicate. You'll need this for the next step.
Now you'll need to cut out the loops. You can use an exacto knife and cut them out of the "cut-out", but its easier to cut them separately and gives a nice 3D effect at the end. When you're done you should have pieces like this.
Next we're going to cut out the background. I used a cardboard box and cut it to fit inside the frame so that it looked like this.
Now we're going to paint everything. I applied primer to all of the pieces.
And it got a bit messy.
Especially after I accidentally put my hand on the primer can lid while standing up... sigh.
Once everything is primed you can paint the pieces in whatever colours you like. I used the front hall wall colour for the background, trim white for the frame, white gloss for the "mat" and the "loops" and oil rubbed bronze for the "H". All colours I already had on hand. Once everything is painted you just have to assemble it. I used a glue gun for this for better hold. If any of your pieces curve a bit from the paint you can flatten them out with some heavy books (or have your husband/child/friend sit on them and then they can say that they helped!).
Once you get all the pieces together you'll have a lovely custom monogram to hang proudly in your house.
Easy as pie.
Linking up


6 comments:
easy as pie but OH so so cute! I love it!!!
Tana
Super cute! I love the double rimmed-frame, which really sets everything apart.
Great idea!
Looks great, so easy and inexpensive to make your own art. Great job! Visiting from Debbiedoo's Newbie party, look forward to checking out your blog. I didn't post today buy try to weekly. Thanks for sharing
Have a great week
Very nice! Love the colors and the design of the "H" -- thanks for the great detailed tutorial!
Love just about anything momogrammed! Great job :)
That is wonderful. Thanks for sharing at my newbie party. Please add my button or link as well. Hope to see you again, and welcome to blogging.
Post a Comment